Did you know that poor engine oil levels are one of the most common car faults? Maintaining proper engine oil levels is essential for the health and longevity of your car’s engine.
Step 1 – Preparation
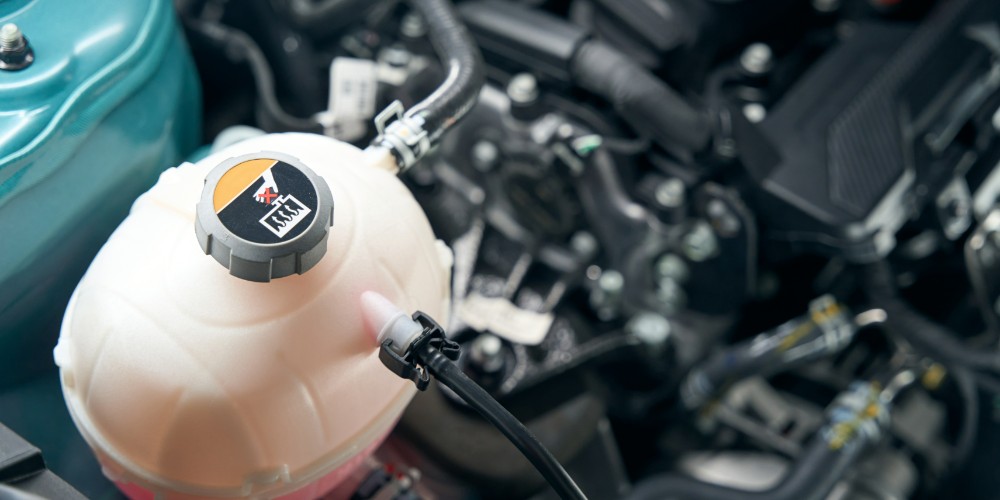
Before you begin, make sure your car is parked on a level surface and the engine has cooled down for at least 10 minutes. It’s also important to have a clean cloth or paper towel and a funnel handy. Additionally, you will need to consult your car’s manual to determine the type and amount of oil required.
Step 2 – Locating the Dipstick
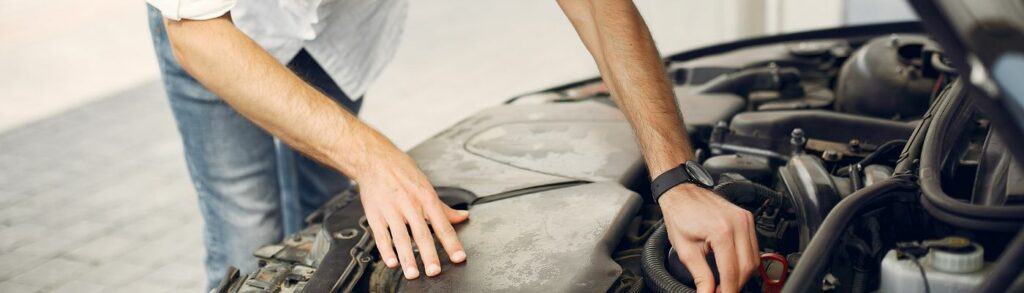
Open the car’s hood and locate the dipstick. It is usually a brightly coloured handle with an oil can symbol on it. The dipstick is connected to the engine and is used to measure the oil level.
Step 3 – Checking the Oil Level
Remove the dipstick from its tube and wipe it clean with a cloth or paper towel. Reinsert the dipstick fully into the tube and then pull it out again. Take note of the oil level indicated on the dipstick. There are usually two marks, “Min” and “Max,” or “Add” and “Full.” The oil level should be between these two marks. If the level is below the minimum mark, it’s time to add oil.
Step 4 – Topping Up the Oil
Using a funnel, carefully pour the recommended type and amount of oil into the oil filler hole, which is usually located on the top of the engine. Avoid overfilling, as it can cause damage to the engine. It’s better to add a little at a time and recheck the oil level using the dipstick.
Step 5 – Checking the Oil Condition
While you’re checking the oil level, it’s also important to inspect its condition. Rub a small amount of oil between your thumb and index finger. Clean, transparent oil indicates that it is in good condition. If the oil appears dirty, gritty or has a burnt smell, it may be time for an oil change. Consult your car’s manual or a professional mechanic for further guidance.
Step 6 – Rechecking the Oil Level
After topping up the oil, repeat step 3 to ensure that the oil level is now within the recommended range. It’s crucial not to overfill the engine, as it can lead to various problems such as oil leaks or damage to engine components.
Step 7 – Closing the Hood
Once you have completed the oil check and top-up process, securely fasten the oil filler cap and close the hood of your car. Make sure it is properly latched to prevent any damage while driving.
💡 You might like this car safety checklist.
Conclusion
Regularly checking and topping up your car’s engine oil is a simple yet vital maintenance task that ensures your engine operates at its best. By following these steps and maintaining the correct oil levels, you can help prolong your engine’s lifespan and avoid costly repairs. Remember to consult your car’s manual for specific instructions and always seek professional assistance if you have any concerns about your vehicle’s oil or maintenance.